Aquilawire VS.807
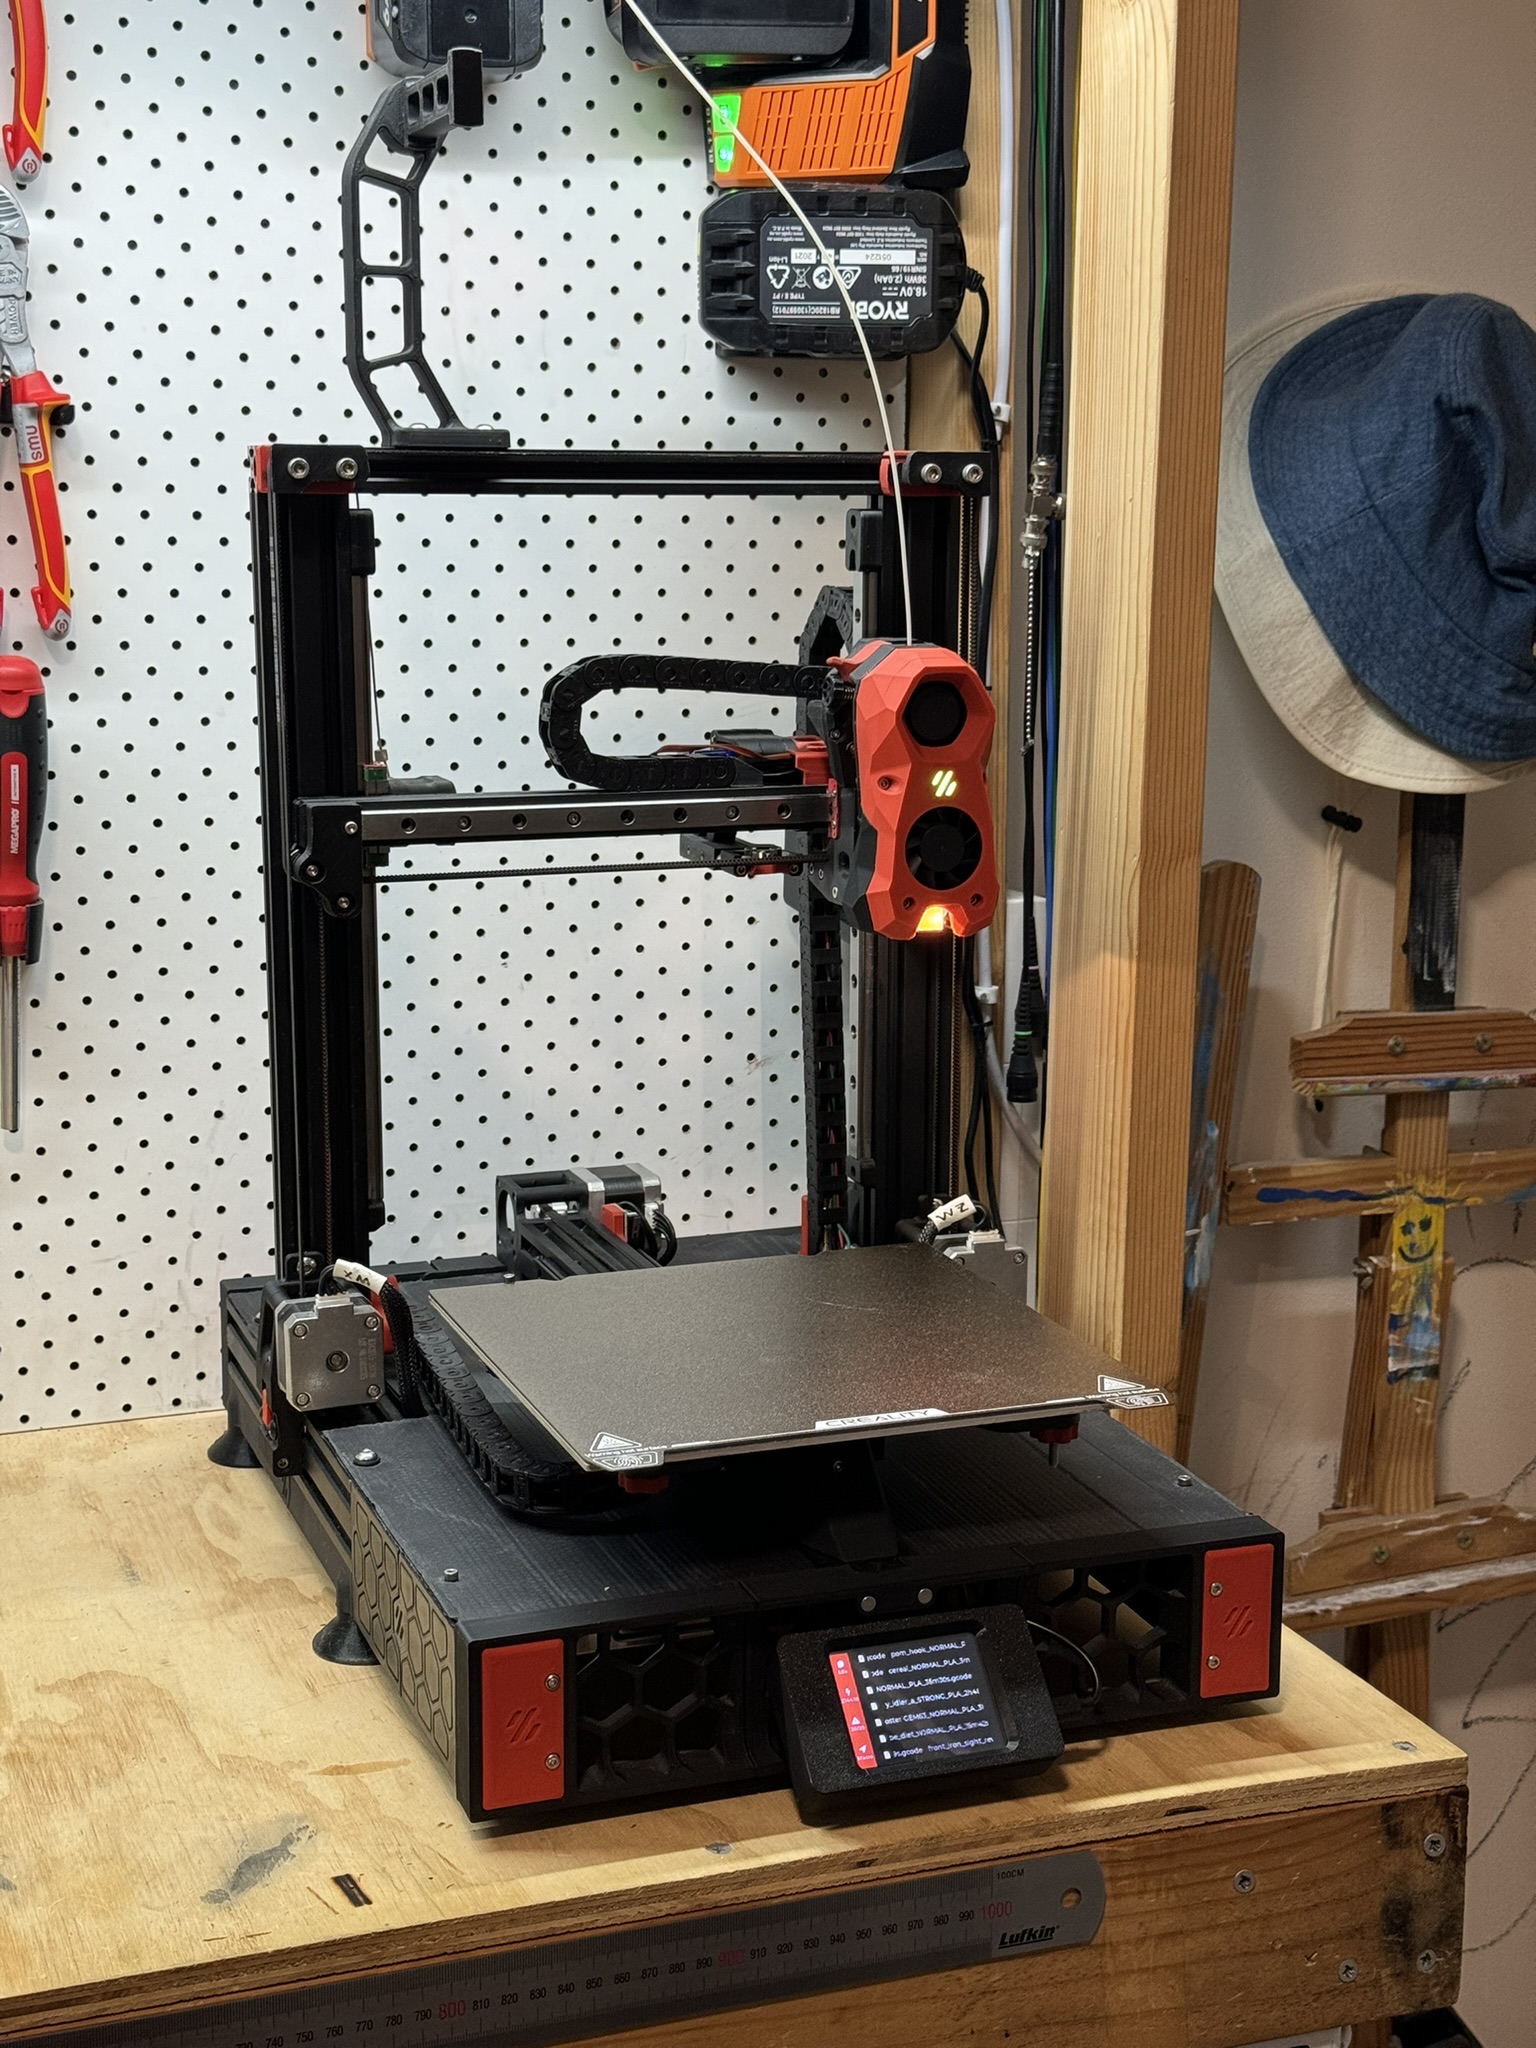
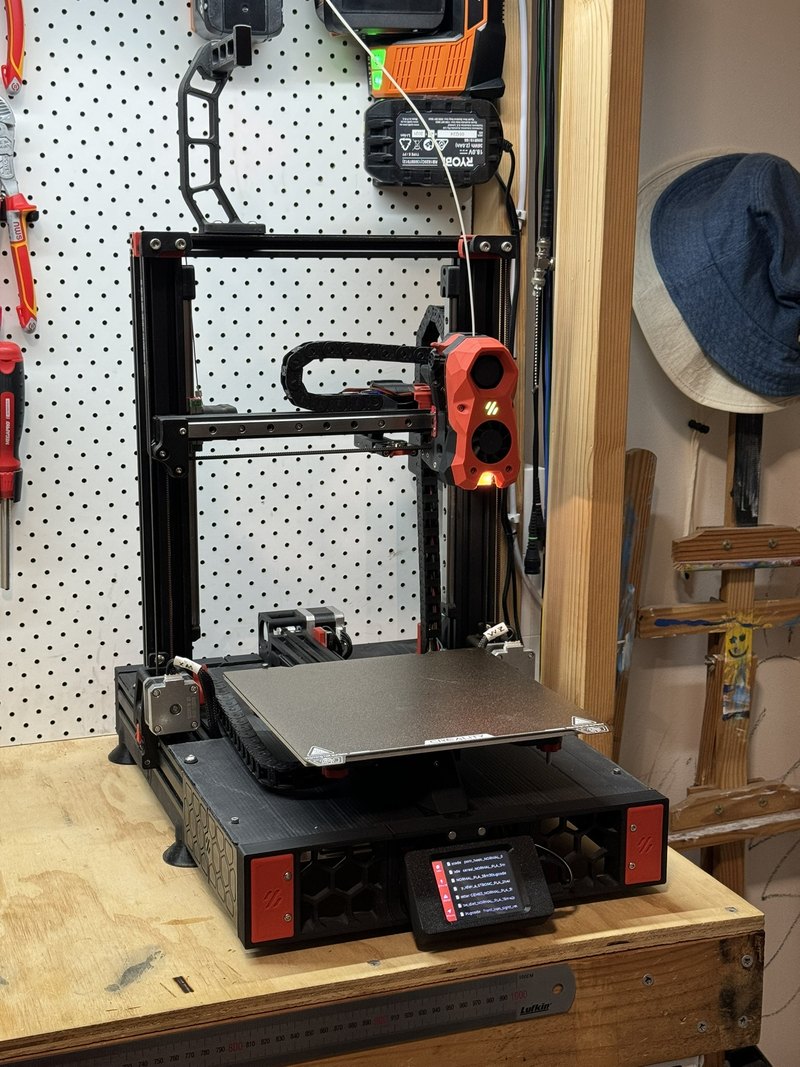
Voxelab Aquila X2 converted to a CoreXZ motion platform
TL;DR: An Aquila X2 was converted to a CoreXZ platform to remove Z lead-screw artefacts, add linear rails, and support a modern toolhead/probing stack. The result was higher usable speed, cleaner motion, and more repeatable first layers.
Problem
The stock bed-slinger had enough frame value to reuse, but the Z mechanics and ringing limited surface quality and throughput. The target was improved rigidity, repeatability, and serviceability without replacing the entire platform.
Constraints & goals
- Reuse the frame where sensible: keep overall footprint and salvage value.
- Mechanical rigidity: linear rails, CoreXZ kinematics, tidier belt paths.
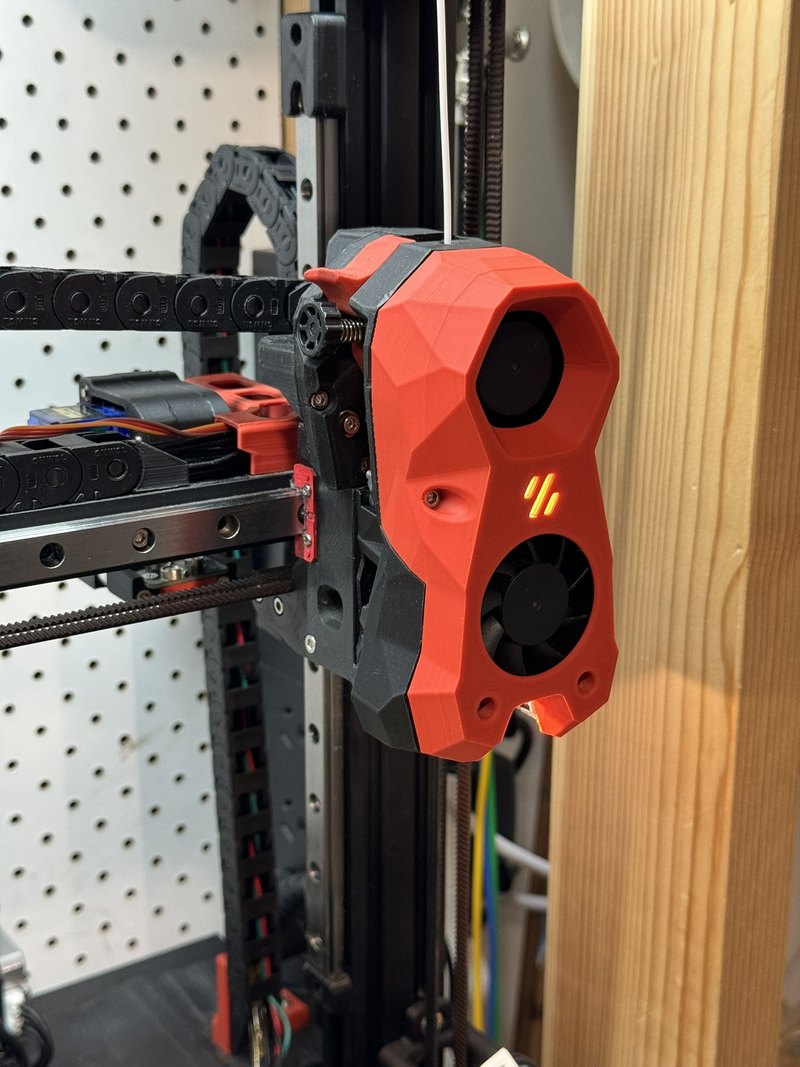
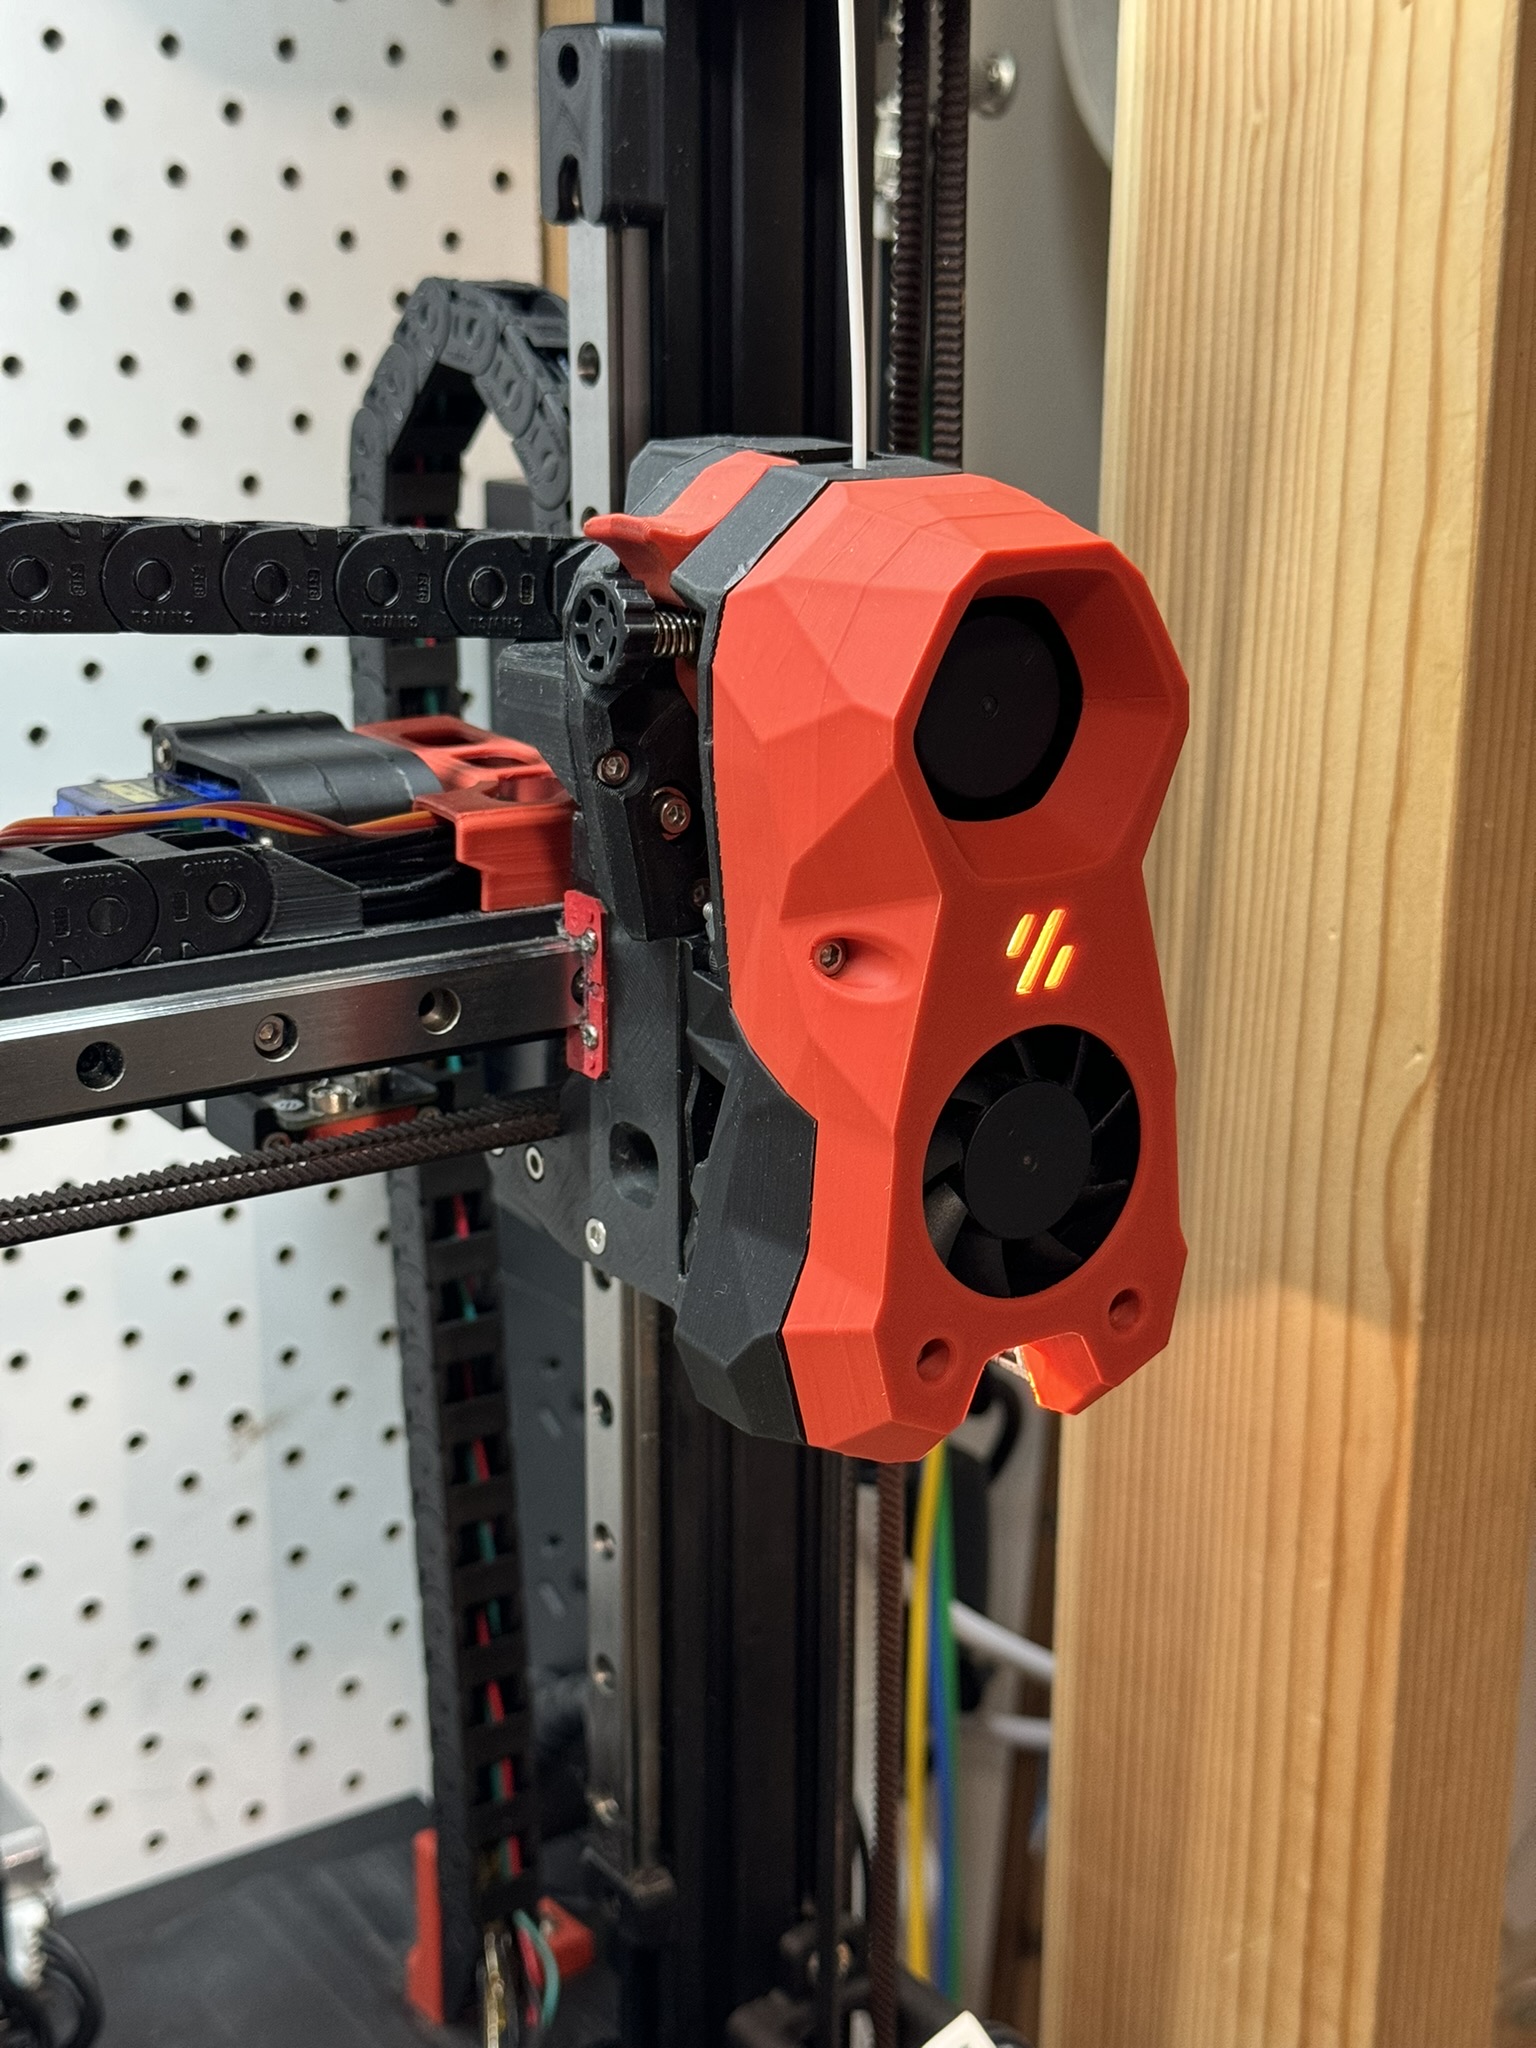
- Modern toolhead: Stealthburner + CW2 for clean wiring and cooling.
- Probing & auto Z: hardware-repeatable Z offset and reliable mesh.
- Parts availability: off-the-shelf fasteners/electronics here in AU.
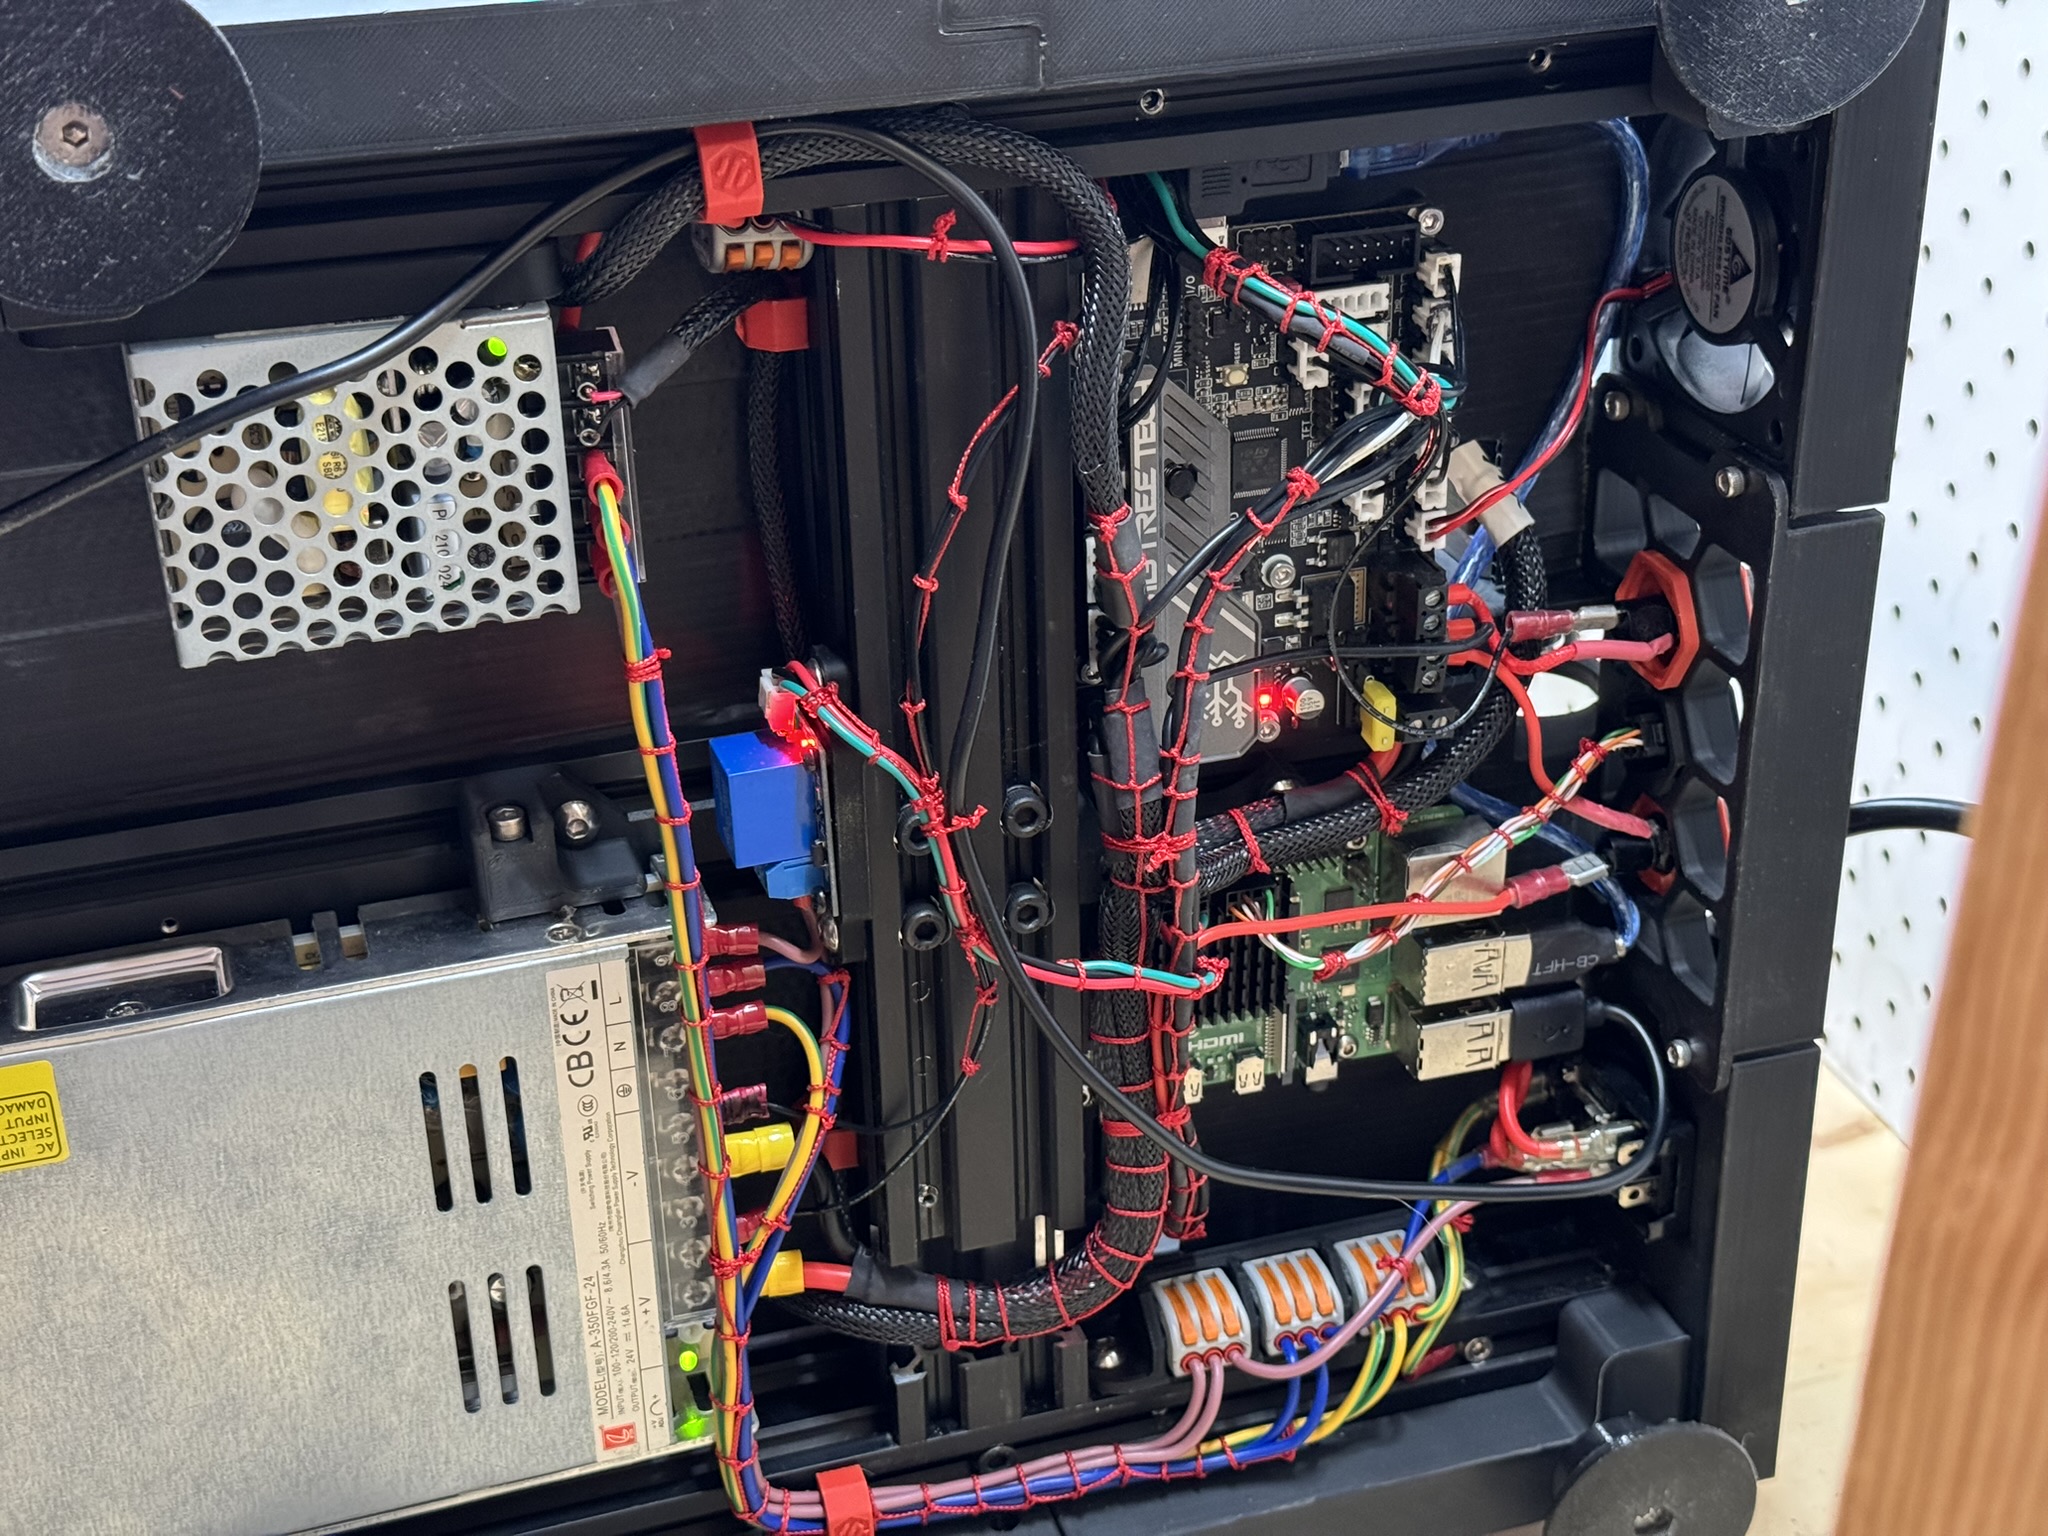
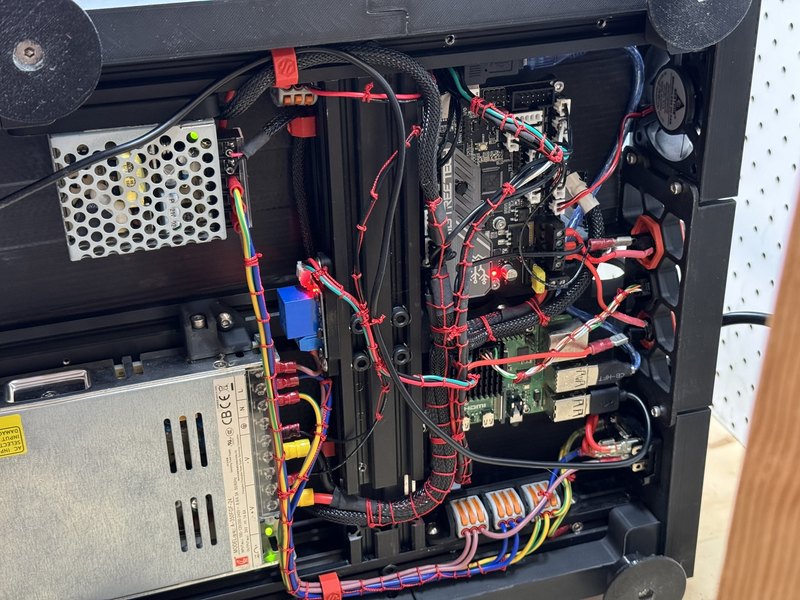
- Serviceability: sane electronics layout, labelled harnesses, laced cabling.
Solution overview
I followed the excellent Ender_SW approach for CoreXZ on an Ender/Aquila frame, then adapted the toolhead and probing to my needs. Linear rails handle X/Z, CoreXZ removes the typical lead-screw Z-wobble failure mode, and a Stealthburner + CW2 gives consistent part cooling and plug-in hotend options. For probing, I landed on KlickyPCB after testing alternatives, paired with Klipper macros for automatic nozzle offset.
| Subsystem | Choice | Rationale |
|---|---|---|
| Kinematics | CoreXZ (Switchwire-style) | Removes Z lead-screw artefacts; compact moving mass |
| Motion | Linear rails on X/Z | Rigidity and repeatable alignment |
| Toolhead | Stealthburner + CW2 | Clean wiring, strong part cooling, modularity |
| Hotend | Dragon UHF + CHT Volcano | High flow for speed with larger layers |
| Probe | KlickyPCB (servo mount) | Repeatable, serviceable, proven in community |
| Controller | BTT SKR Mini E3 V3.0 | Quiet drivers, common pinout, Klipper-friendly |
| Host | Raspberry Pi 4 (8 GB) | Klipper + Mainsail/Fluidd headroom |
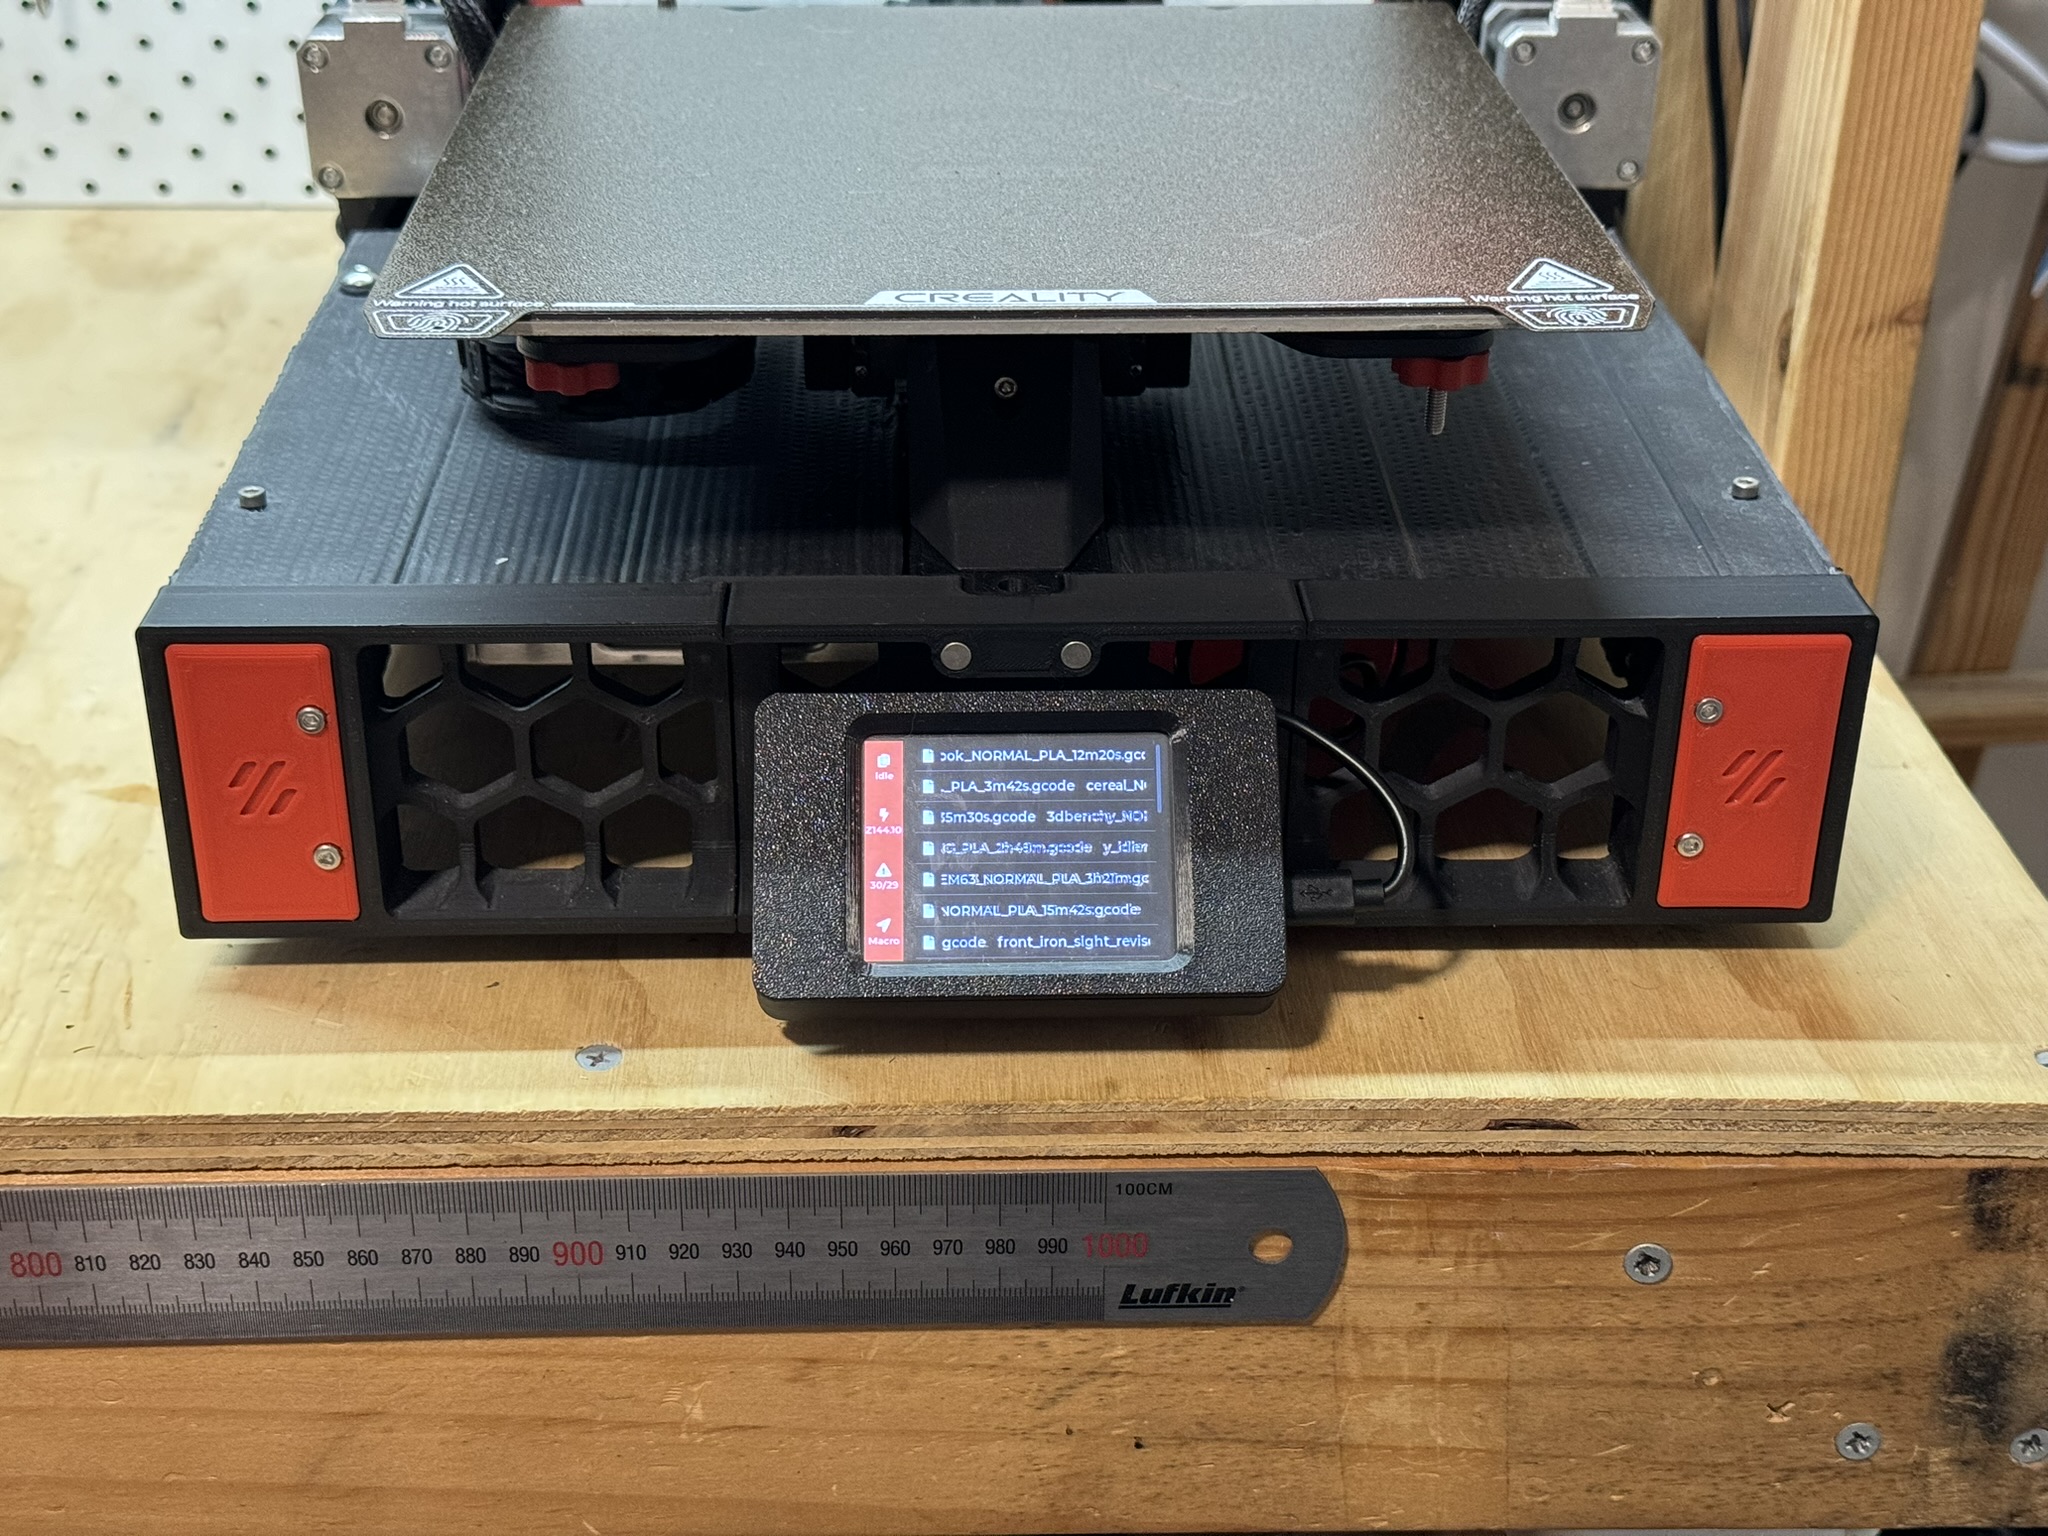
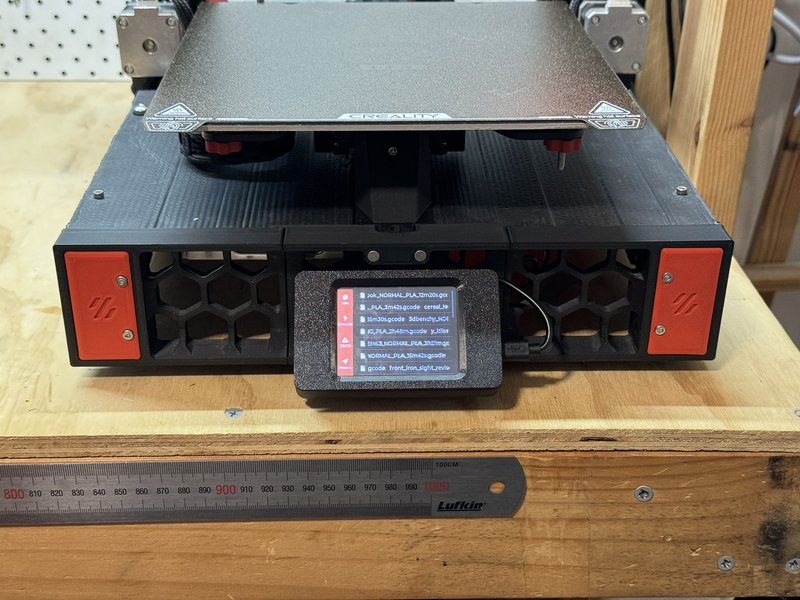
| UI | CYD screen in custom case | Local controls and status at a glance |
| Wiring | Laced harnesses, labelled | Serviceability and noise control |
Build notes
- Frame reuse: the Aquila/Ender extrusion set is a reasonable donor once squared; CoreXZ brackets take care of the heavy lifting.
- Rails & alignment: tram the rails to the gantry carefully; backlash here shows up as ripples.
- Probe path: KlickyPCB gave better repeatability for me than early KlickyNG prints; servo mount keeps the mechanism simple.
- Auto-Z offset: Klipper macros measure nozzle-to-probe offset per swap; no feeler gauge required.
- Electronics bay: give cables strain relief and route stepper pairs away from signal lines; label everything.
Printer performance
- External walls: 300 mm/s @ 10000 mm/s^2
- Travel: 400 mm/s @ 15000 mm/s^2
- Resonance (input shaper): X approx. 77.6 Hz, Y approx. 29.2 Hz
- Materials validated: PLA, ABS/ASA, PETG, TPU (profiles tuned)
Images
Specifications
- Stealthburner w/ CW2
- Dragon UHF w/ CHT Volcano
- BTT SKR Mini E3 V3.0
- Raspberry Pi 4 (8 GB)
- CYD screen (custom case)
- KlickyPCB probe (servo mount)
Why not just buy a printer?
If the priority is time-to-part and vendor support, a ready CoreXY is usually the better choice. This build was about reuse, tuning, and evaluating what a modest donor frame can support with careful mechanical and electrical work.
Apply this approach
The same method, requirements first, constrained design, repeatable measurement, is what I bring to client work. If you need help selecting a machine, upgrading motion/tooling, or profiling materials, start a project discussion below.
Need something similar?
Common questions
Build or buy; what makes sense?
If you value learning and customisation and can invest time, build. If you need predictable output now with minimal tuning, buy.
Why base it on VORON Switchwire ideas?
It is a well-documented, rigid CoreXZ pattern with community-proven parts and good serviceability.
Why convert an Aquila instead of starting from scratch?
Lower cost, reuse of extrusions and hardware, and a compact footprint already on hand.
What does CoreXZ improve over a bed-slinger?
Better Z straightness (no lead-screw wobble), lower moving mass in the print plane, and cleaner ringing characteristics when tuned.
What did the upgrade change in real numbers?
Surface finish improved (ringing reduced), first-layer yield increased, and stable speeds rose with input shaping to the recorded values.