CYD Screen Case
Switchwire-mountable enclosure for an ESP32 Cheap Yellow Display
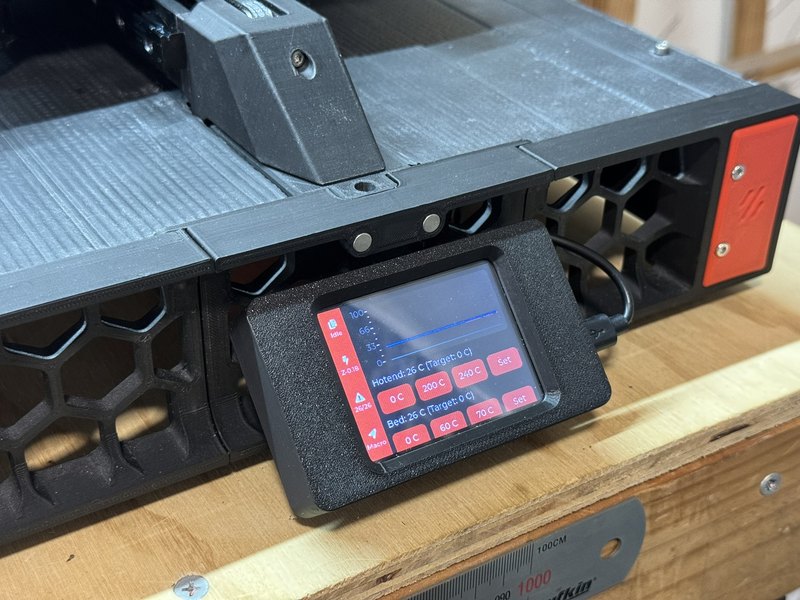
TL;DR: A compact wireless status/control screen was added to the Switchwire conversion without the extra display, HDMI, and USB cabling of KlipperScreen. Using CYD-Klipper on the ESP32 Cheap Yellow Display, the enclosure mounts directly to the frame, keeps the wiring minimal, and remains serviceable.
Problem
KlipperScreen provides a capable local interface, but it adds a display, cables, and a Pi/HDMI stack to mount and power. The Mini 12864 is compact but limited. The requirement was a readable wireless interface with one clean power feed and minimal frame intrusion.
Constraints & requirements
- Minimal wiring: one clean power feed, Wi-Fi for comms.
- Mounting: drop-in bracket for a VORON Switchwire extrusion (no drilling).
- Printability: no exotic supports; short prints; sensible tolerances.
- Serviceability: easy screen removal.
- Durability: enclosure that will not buzz or crack if I bump into it.
Solution overview
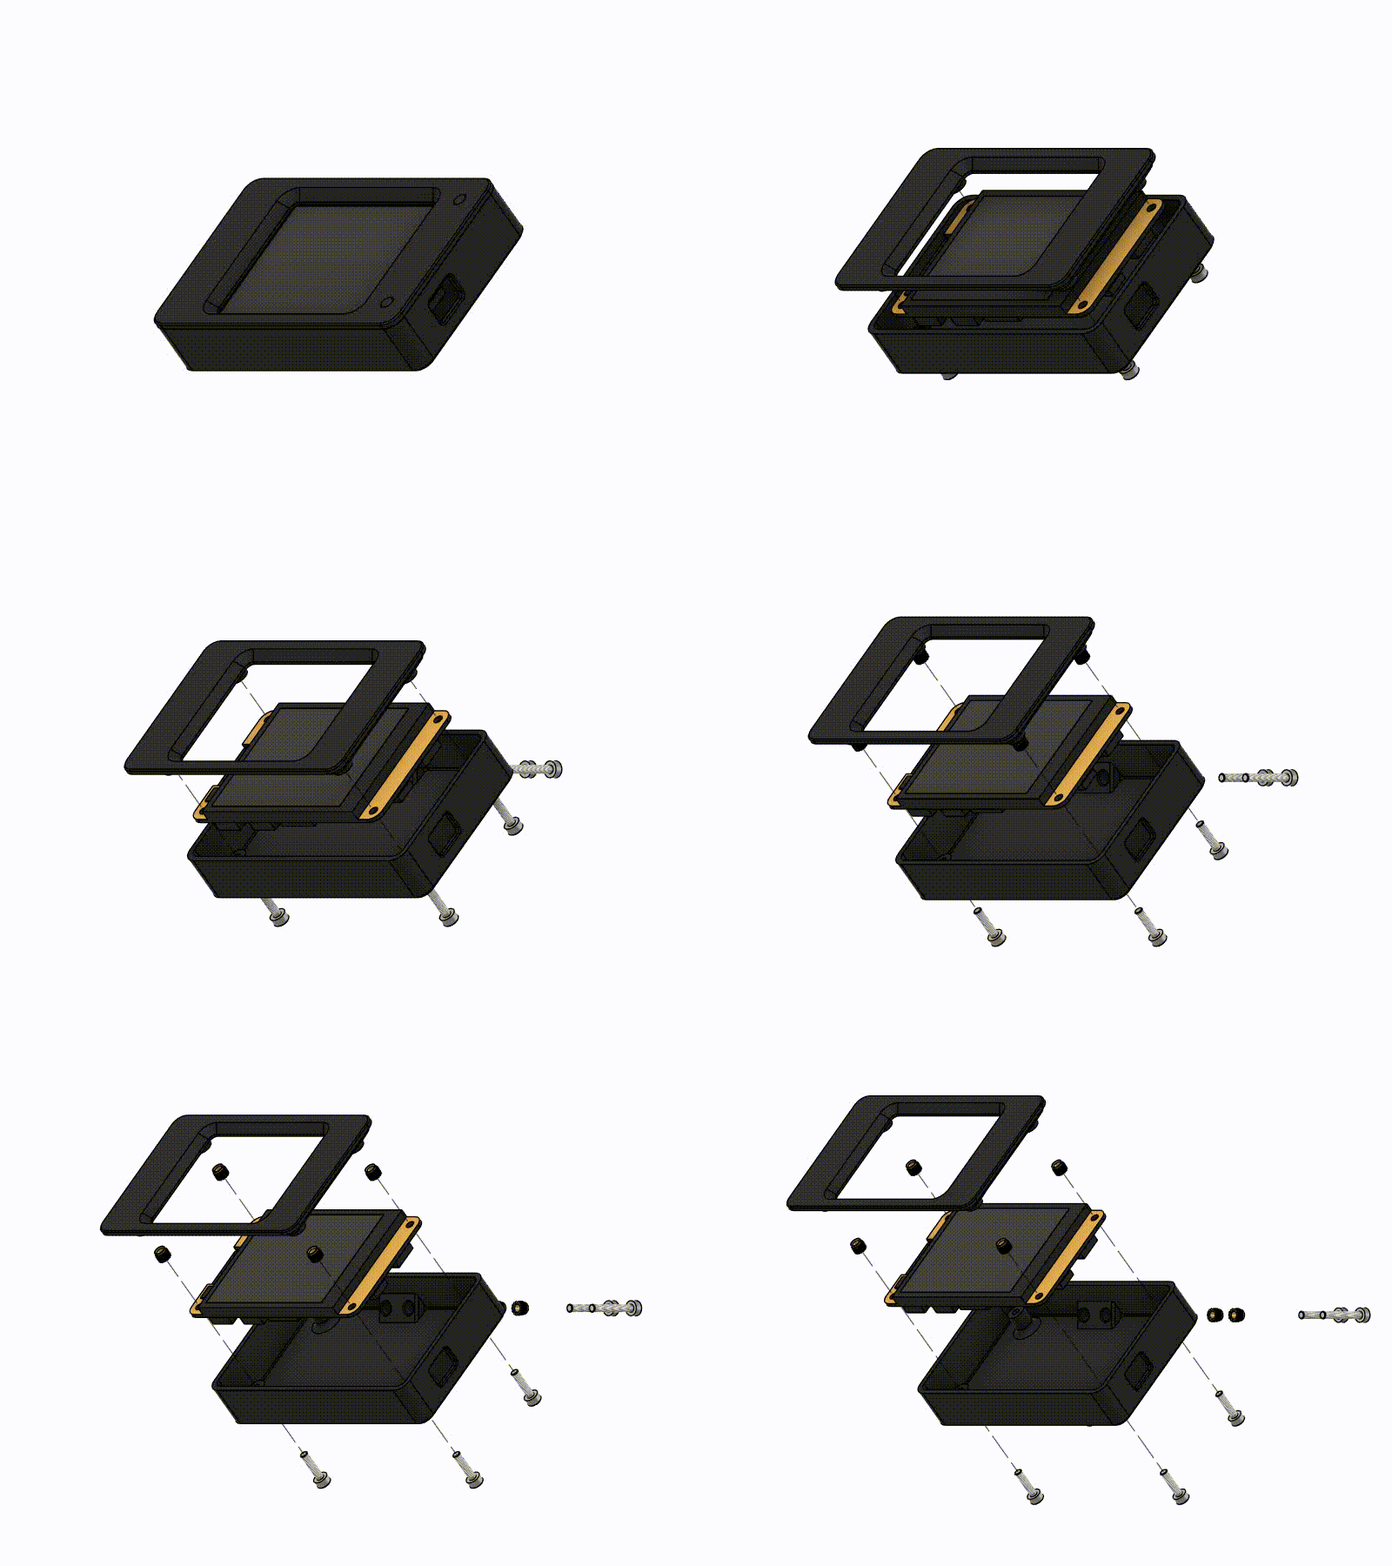
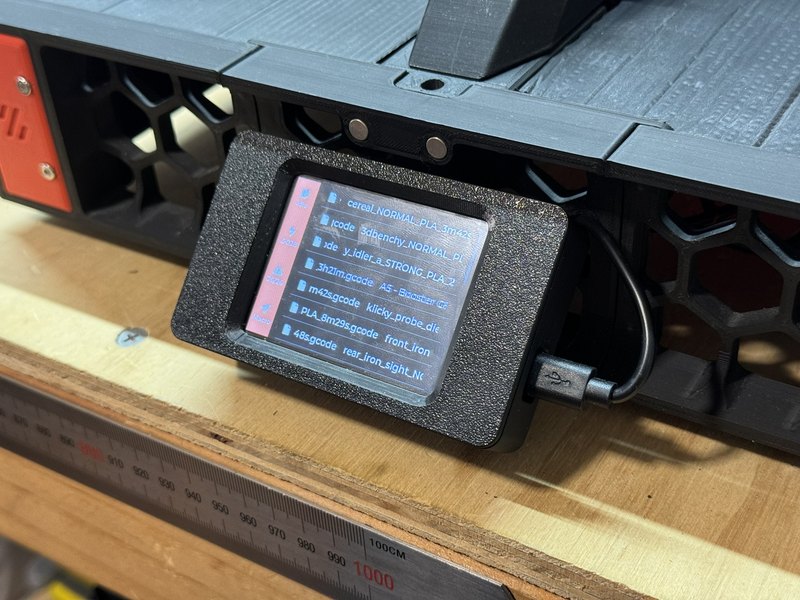
The case holds the CYD board with standoffs and a front bezel, and the rear bracket keys into a Switchwire extrusion. Power is routed via a micro USB feed, and Wi-Fi handles communication to Klipper/Moonraker through CYD-Klipper.
| Element | Choice | Why |
|---|---|---|
| Display/control | ESP32 Cheap Yellow Display (CYD) | All-in-one touch display, Wi-Fi, tiny footprint |
| Firmware | CYD-Klipper | Simple, fast setup; talks to Moonraker/Klipper |
| Case | Two-part shell + bezel | Serviceable and easy to print |
| Mount | Switchwire extrusion bracket | Clean install; maintains printer footprint |
| Power | Micro USB | One cable; no HDMI ribbon |
| Material | ABS | Stiff enough and durable |
Build notes
- Tolerances: standoffs are sized for a snug board fit.
- Orientation: print the bezel face-down for a crisp edge; the back shell upright.
- Fasteners: 2 x M3x20 for the bracket; 4 x M3x12 for the bezel.
- Power: feed a stable 5 V supply; avoid long flimsy USB leads. If drawing from the printer PSU, use a buck converter with headroom.
Images
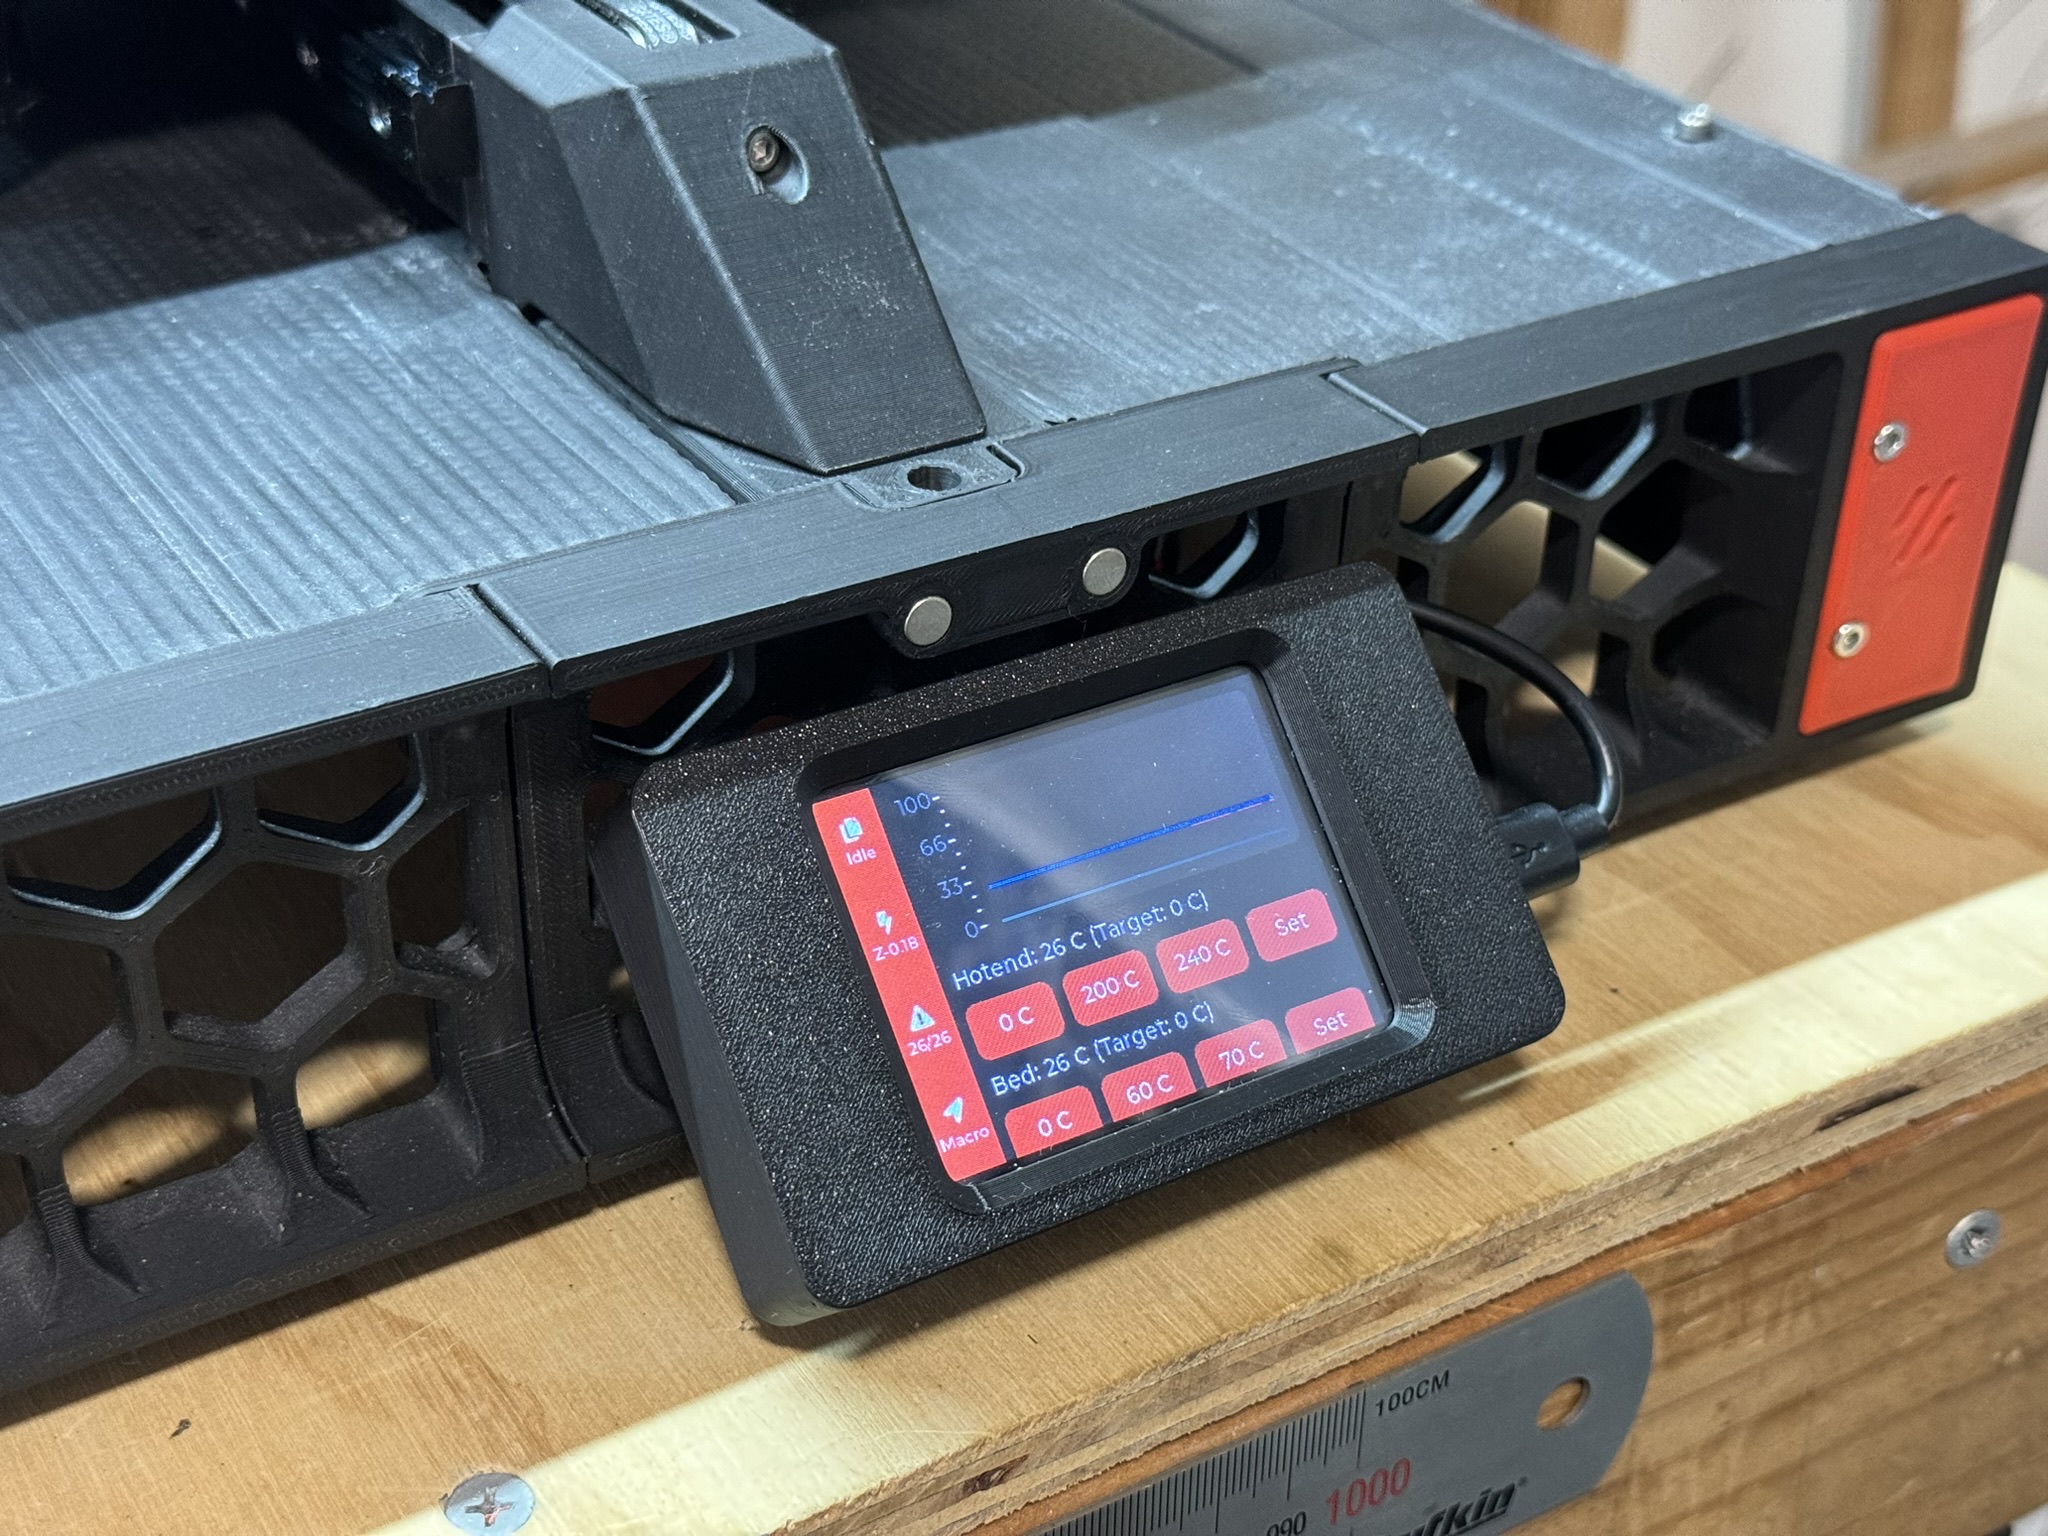
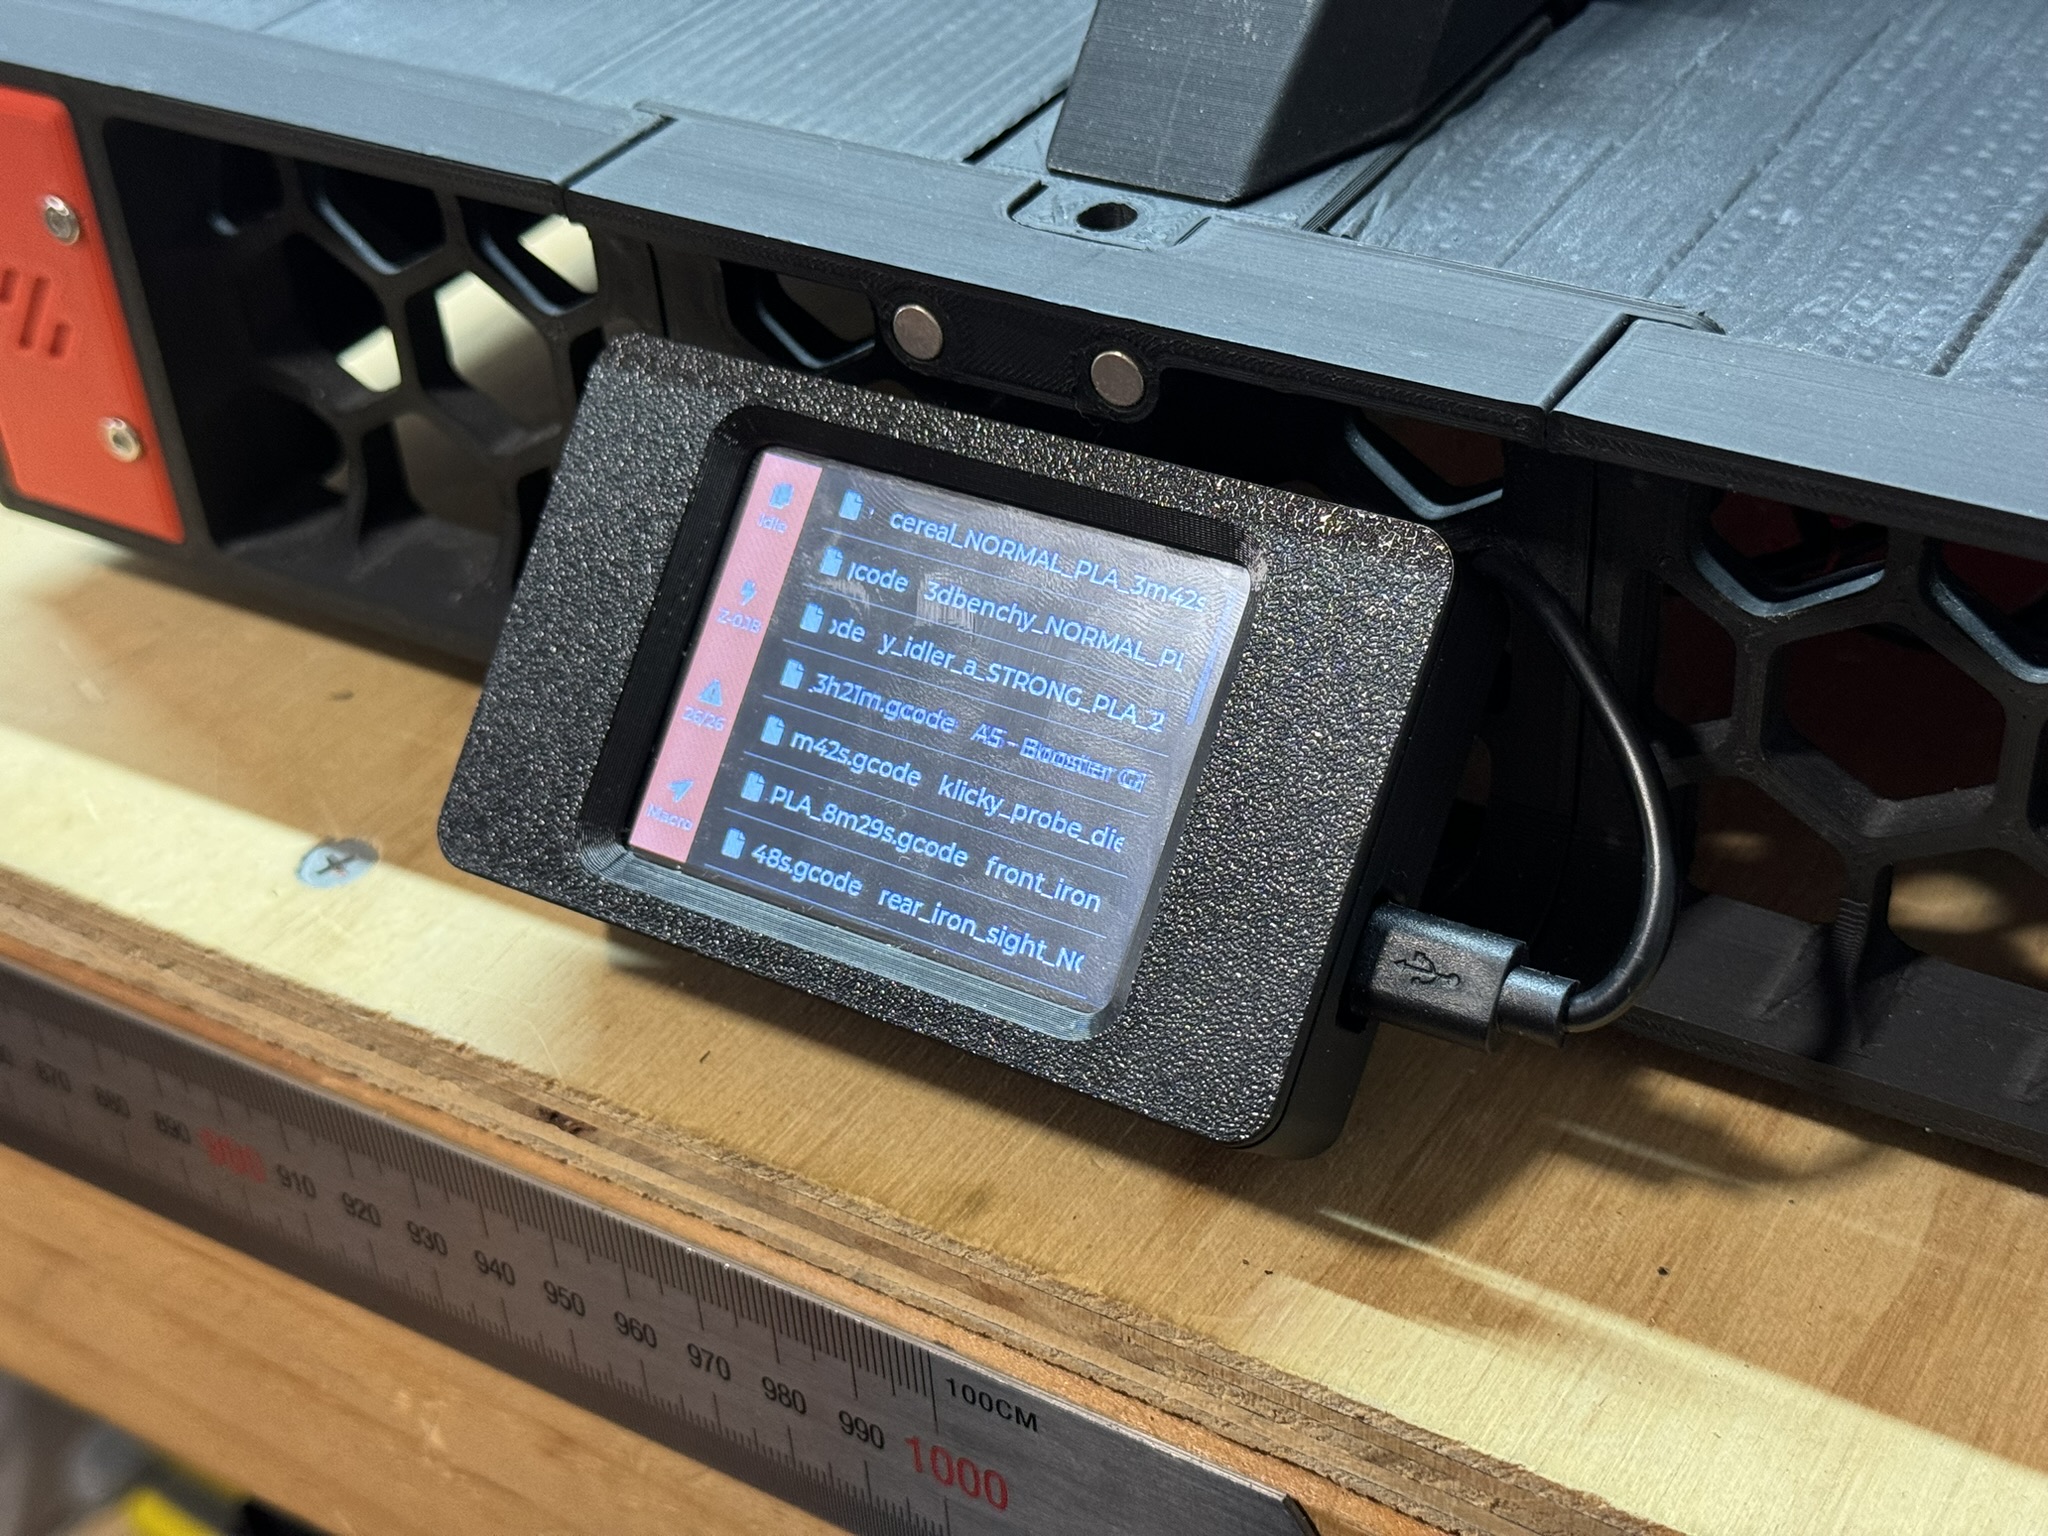
Assembly, mount, and UI snapshots:
Results
- Setup time: seconds from print to on-printer.
- Readability: clear view at a glance; screen is stable to the touch.
- Everyday use: heaters, jobs, and speed changes at a glance; no extra HDMI/USB spaghetti.
Files & source
Apply this approach
This is how I approach add-ons for clients: define constraints, design for manufacture, and wire cleanly for service. If you want help integrating accessories or designing custom enclosures, start a project discussion below.
Need something similar?
Common questions
Why not use KlipperScreen?
It works, but adds a display/HDMI/cables to mount and power. CYD is smaller, wireless, and needs just 5 V.
Why a dedicated case instead of a generic box?
Proper standoffs, access to buttons, and a bracket that fits the Switchwire frame make it sturdier and easier to use.
PLA, PETG or ABS?
PLA is likely suitable, but as all other printer parts are in ABS I stuck with that choice.
How do I power it?
Either a clean 5 V line from your electronics bay via a buck converter or a short, good-quality USB supply.
Does it talk to Klipper reliably over Wi-Fi?
Yes, CYD-Klipper talks to Moonraker. Keep Wi-Fi signal decent and it is reliable for status and basic control.